1. Create Azure active directory web application.
- Login to Management Console of Windows Azure.
https://manage.windowsazure.com/azonline.onmicrosoft.com#Workspaces/All/dashboard
- Go to All Items and select "New"
- Create new active directory by selecting custom create.

- Fill all the details as required

- Select "Add an application my organization is developing".

- Give a name for the web application.

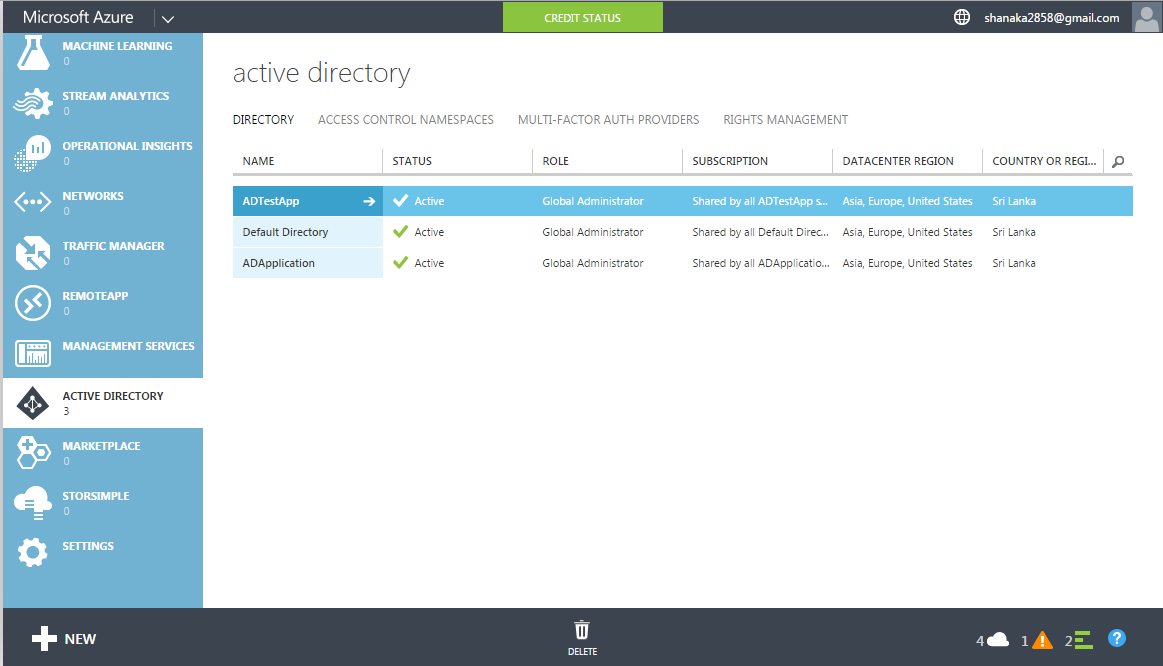
- Go to Active directory that is created and select "Application", then select created web App and select "Configure" to do the configuration.

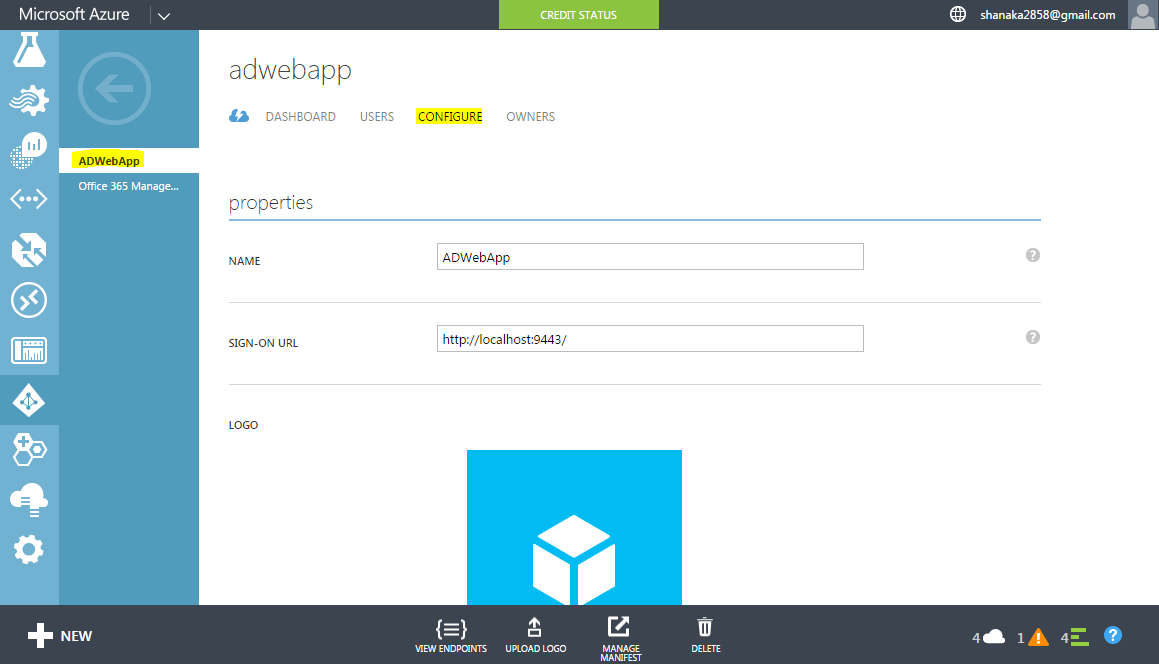
- After your application is created, see its properties. Here is the client id. Save it somewhere.

- Client Secret needs to be taken at the first time you create the app - this is only visible one time, and it is just after saving the application. Save it somewhere before reload the page.

- This is redirect URL to IS.

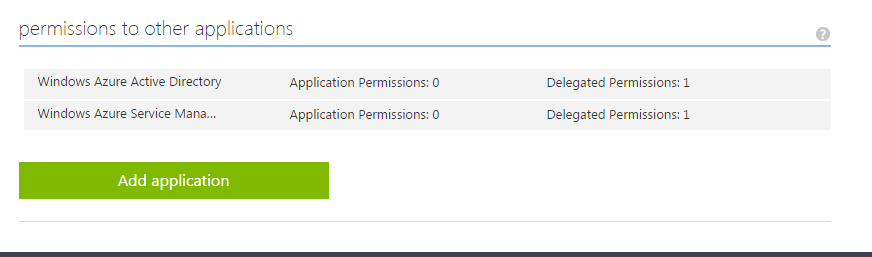
- Add Windows Azure Service Management API and make it Delegated Permissions: 1.
- Once you done all the configurations select "View Endpoints" and get OAUTH 2.0 Token Endpoint and OAUTH 2.0 Authorization Endpoint.
2. Configure WSO2 Identity Server.
2.1. Prerequisites to set up the application.
- Download IS 5.0.0 pack from http://wso2.com/products/identity-server/
- Create a tenant space. ( Follow the documentation at https://docs.wso2.org/display/IS500/Multitenancy )
- Log in to the tenant space using tenant admin credentials.
- Go to KeyStores in the left panel under the Configure tab.
- Download the public key of your tenant.
- I used "Travelocity" as my application in this scenario. (Follow the documentation at https://docs.wso2.com/display/IS500/Configuring+Single+Sign-On+with+SAML+2.0 for the Travelocity setup.)
- Import the downloaded certificate(public key) of the tenant to the Travelocity's keystore as shown below,
- Configure the following properties in your application(Travelocity).
- SAML.IssuerID=travelocity.com@<tenant domain>
- SAML.IdPCertAlias=<alias of the tenant public key>
- Host your application in an application container. ( ex: in WSO2 AS or Tomcat )
2.2. Registering Windows Azure as an Identity Provider (IDP)
- Log in to the tenant space with tenant admin credentials.
- Click on Add under the Identity Providers in the Main tab.
- Fill in the details in the Basic Information section.
- Identity Provider Name is sufficient for this setup.
- Click on the down arrow of Federated Authenticators and do the configuration under OAuth2/OpenID Connect Configuration. Fill in the configuration details as shown below using the values taken from Azure AD.

- Do the Claim Configuration as shown below.

- Once you are done, click on the Register button.
2.3. Registering Webapp as a Service Provider (SP)
- Login in to the same tenant domain of the same IS instance where you registered Windows Azure as an IDP.
- Click on Add under the Service Providers in the Main tab.
- Fill in the details in the Basic Information section.
- Service Provider Name is sufficient for this setup.
- Click on Register button.
- Click on the down arrow of Inbound Authentication Configuration followed by the down arrow of SAML2 Web SSO Configuration.
- Click on Configure link.
- Fill in the fields with the information from your webapp and click on Register button.
- Issuer : Make sure you add the same issuer that you have set in your application. (Ex: travelocity.com)
- Assertion Consumer Url : Url of the application where you need IS to get redirected once authentication is done. (Ex: http://localhost:8080/travelocity.com/home.jsp)
- Tick on the following option.
- Use fully qualified username in the NameID
- Enable Response Signing
- Enable Assertion Signing
- Enable Single Logout
- Enable Attribute Profile

- Click on the down arrow of Local & Outbound Authentication Configuration.
- Select the Advanced Configuration radio button under Authentication Type.
- Click on the link Add Authentication Step.
- Select basic in step 1 from the drop down under Local Authenticators and click on Add Authenticator link.
- Click on the link Add Authentication Step to add another step.
- Go to step 2 and select Windows Azure IDP that you configured in the earlier from the drop down which is under Federated Authenticators.

- Do the claim configuration as shown below.

- Then click on the Update button and again click on the next Update button.
3. Test the application.
- Go to travelocity page. http://localhost:8080/travelocity.com/home.jsp
- Select "Click here to login with SAML from Identity Server".

- This will direct to Identity Server Login page witch can select Azure as Federated Authenticator.

- Once you select other login option it will direct to Microsoft login page and once you provide your Credentials it will redirect to Travelocity home page.

Hope this document will supportive.
Thank You.